How to carve a small pumpkin

Items needed:
1-Nice, medium, and smooth pumpkin
2-Newspaper
3-Sharp knife or carving kit
4-Bowl for seeds and guts
5-Scraper or pumpkin gutter tool
First, wash the pumpkin off to get all the dirt off the pumpkin. Next, take your sharp knife and cut the bottom off the pumpkin out by making a medium circle. (By removing the bottom it helps the pumpkin sit better) Then, place your pattern on or carve whatever you want with the knife. Lastly, If you want to light it, use a candle and out it through the bottom. for good pattern Goto www.stoneykin.com , www.zombiepumpkins.com , www.pumpkinlady.com
STep one:
Use your scarper or pumpkin gutter tool and scarp all the seeds and guts out of the pumpkin so it's nice and clean.
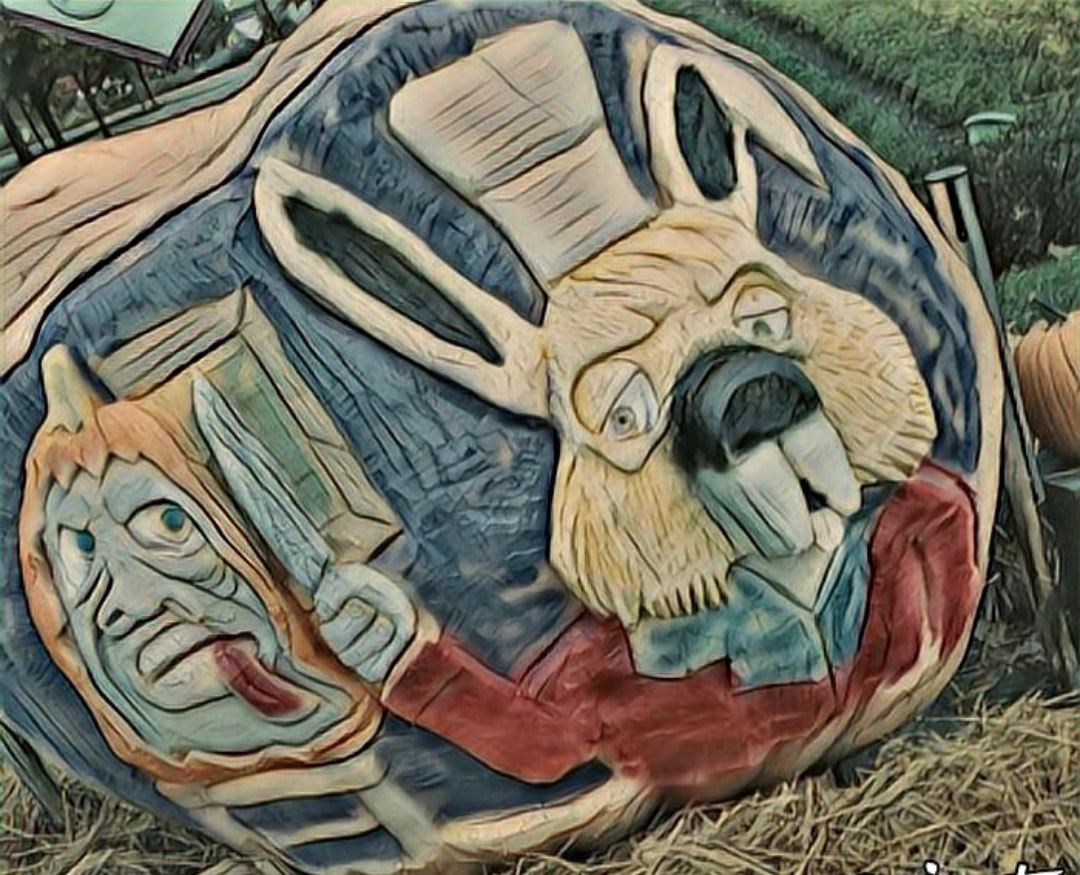
There are two ways of carving a pumpkin, either use a pattern from a store or online, or do your basic triangle face carving.
Draw your pattern on the pumpkin with marker or do it free hand, using a pumpkin knife cut out the eyes first.
There are two ways of carving a pumpkin, either use a pattern from a store or online, or do your basic triangle face carving.
Draw your pattern on the pumpkin with marker or do it free hand, using a pumpkin knife cut out the eyes first.
Step two

Next, cut remove the nose.
Then, cut our your mouth how you want it.
Then, cut our your mouth how you want it.

When your carving is done, place a light bulb or candle inside your art work. Ways to keep your pumpkin to last longer:
Use 50/50 bleach water in a container, let soak for 2 to 3 hours. This will slow down the process of mold from taking over.
Special effects you can use inside:
Black light
Fog machine
Strobe lights
Spray paint
You can get great patters at...www.zombiepumpkins.com
Use 50/50 bleach water in a container, let soak for 2 to 3 hours. This will slow down the process of mold from taking over.
Special effects you can use inside:
Black light
Fog machine
Strobe lights
Spray paint
You can get great patters at...www.zombiepumpkins.com
